

Deployment and Installation
Uploading the Webtrends SharePoint Tag Installer Package
Deployment via the Webtrends Legacy SharePoint Tag Administrator is recommended vs. the app catalog, as the app catalog method has limitations that make it difficult to scale an installation with many site collections.
- Navigate to the SharePoint tenant app catalog site.
- Click Apps for SharePoint.
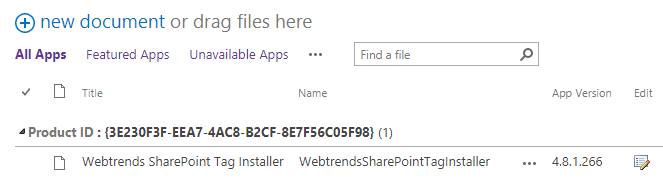
- Drag and drop the
WebtrendsSharePointTagInstaller.appfile onto the page to upload. - When complete, it should look something like the following:
Deploying the Webtrends App to a Single Site Collection
Once the Webtrends app is added to a app catalog, you can deploy it to the site collections. This section walks an administrator through deploying the app to a single site collection.
- Navigate to the desired Site Collection with a Site Administrator account.
- Open site Settings (the gear icon in the upper right).
- Open the Site contents.
- Click Add an app.
- If you do not see the Webtrends SharePoint Tag Installer under the Apps you can add section, try the From Your Organization link on the left.Note
If you still do not see the app, please check with your Administrator to elevate permissions or have the app installed for you.
- Click the icon for Webtrends SharePoint Tag Installer.
- Click Trust It.Note:
The App icon will appear in your site contents for the site collection in a ‘greyed out’ state while SharePoint installs it. Once the deployment is complete, the icon will show up in full color.

- Click the Webtrends SharePoint Tag Installer icon to open the configuration.
- Enter a valid DCSID and configure the app to the desired specifications.
- Check the Enable tracking box.Note:
This box must be checked when saving to apply the User Custom Action to the site collection. Leaving the box disabled will allow you to save the current settings without applying them to the site.
- Click Save.
- You should now see a Webtrends Assets library folder appear in the Site Contents page, and can then verify tracking.
- Repeat for additional site collections as needed.
Deploying the Webtrends App to Multiple Site Collections
Once the Webtrends SharePoint Tag Installer app is added to the app catalog, you can deploy it to the site collections. This section walks an administrator through deploying the app to multiple site collections at once using Managed App Deployments.
This option is not currently supported when also using the App Extension. The App Extension references the local site collection lists of the Tag Installer, and when deploying the Tag Installer via the Managed Paths, the local lists do not exist.
- Navigate to the app catalog site collection with an Administrator account.
- Open site Settings (the gear icon in the upper right).
- Open the Site contents.
- Click Add an app.
- If you do not see the Webtrends SharePoint Tag Installer under the Apps you can add section, try the From Your Organization link on the left.Note
If you still do not see the app, please check with your Administrator to elevate permissions or have the app installed for you.
- Click the icon for Webtrends SharePoint Tag Installer.
- Click Trust It.Note:
The App icon will appear in your site contents for the site collection in a ‘greyed out’ state while SharePoint installs it. Once the deployment is complete, the icon will show up in full color.
- Return to the Site contents page.
- Click the Webtrends SharePoint Tag Installer icon to open the configuration.
- Enter a valid DCSID and configure the app to the desired specifications.
- This will apply the default settings for the add-in to be deployed to other sites.
- Check the Enable tracking box.Note:
This box is optional if you do not wish to track the app catalog site collection itself, and has no impact on the site collections the add-in will be deployed to.
- Click Save.
- Return to the Site contents page.
- Return to classic experience if viewing modern experience.
- Hover over the Webtrends SharePoint Tag Installer app icon.
- Click the … link in the upper right.
- Click the DEPLOYMENT in the hover card.
- Configure the Manage App Deployments paths as desired.Note:
E.g. add the Available managed paths: sites to the Managed paths to deploy to:.
- Click OK.
- Click Trust It.
- The app is now available for use in the desired site collections.
- Visit each site collection's Site contents page.
- Click the Webtrends SharePoint Tag Installer icon to open the configuration.
- Check the Enable Tracking box and alter the configurations if needed..
- Click Save.
- You should now see a Webtrends Assets library folder appear in the Site Contents page, and can then verify tracking.
- Repeat for additional site collections as needed.