

The following is a list of tasks for the installation. The initial procedures can be performed in any order; however, all steps must be completed before running the installer.
If your environment requires a "hardened" server configuration for maximum security, you should implement the security hardening measures after the installation is complete.
Add Roles
-
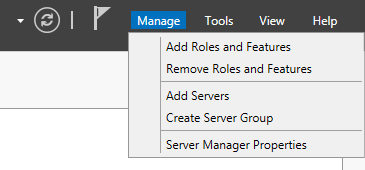
Open the Server Manager.
-
Click Add Roles and Features under Manager in the top right corner.
-
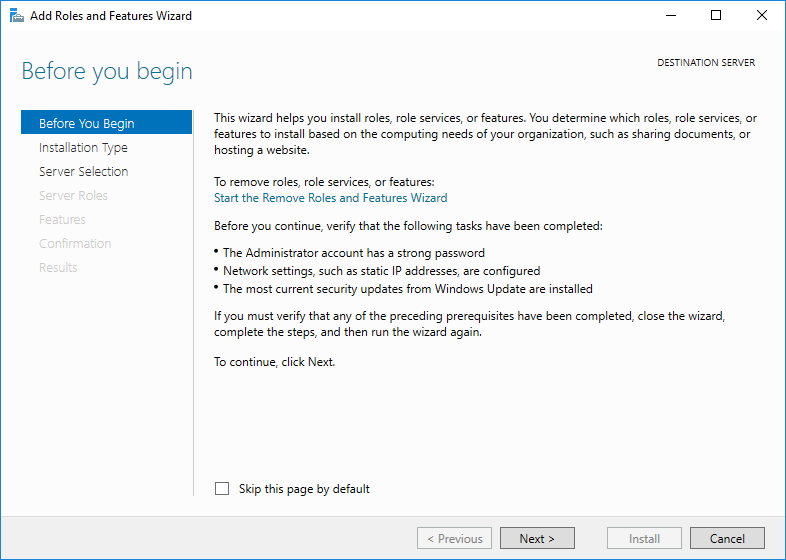
Click Next in the “Before You Begin” dialog if it appears.
-
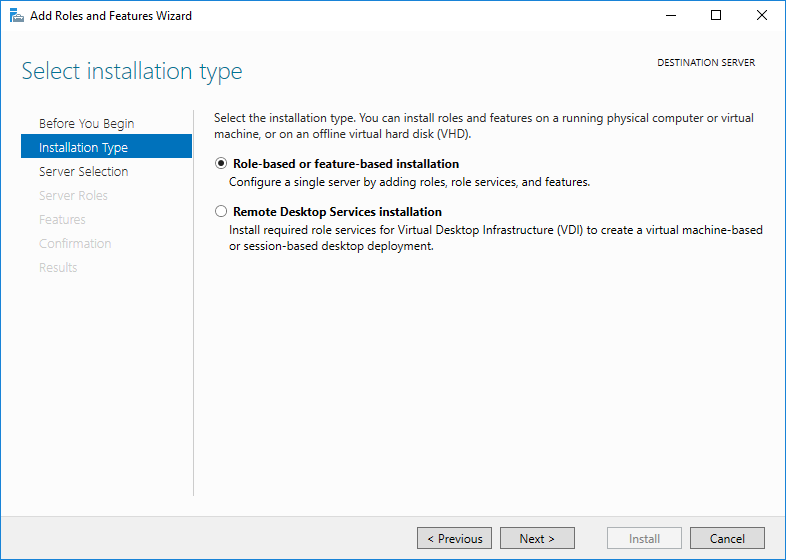
Click Next while leaving the radio button on Role-based or feature-based installation.
-
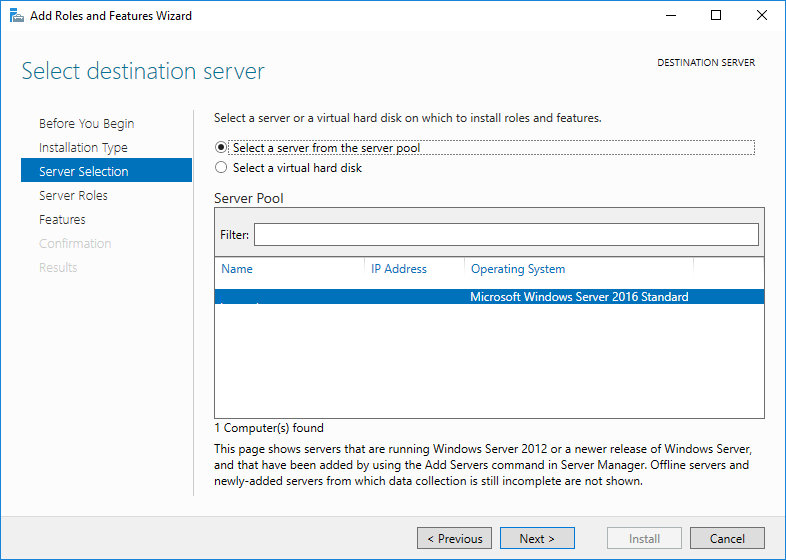
Click Next on the Select destination server screen. It will have your server already highlighted.
-
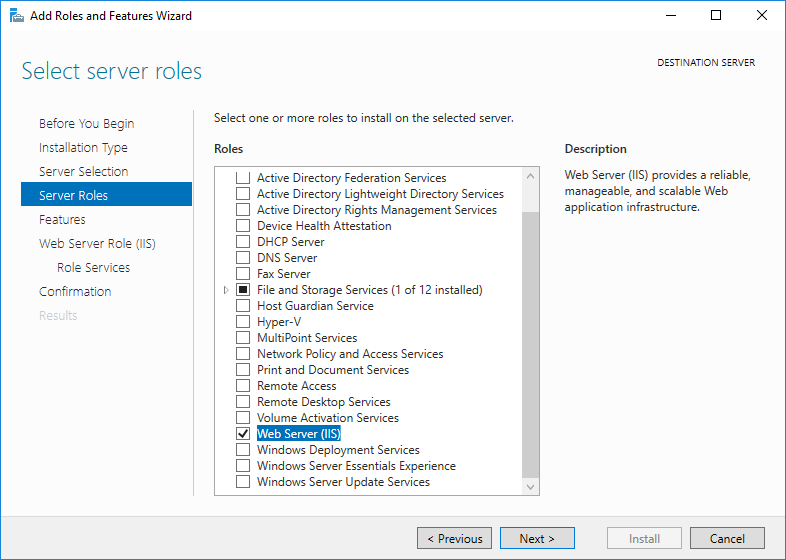
In the Select server roles dialog, add Web Server (IIS), adding any required features if prompted, and click Next.
-
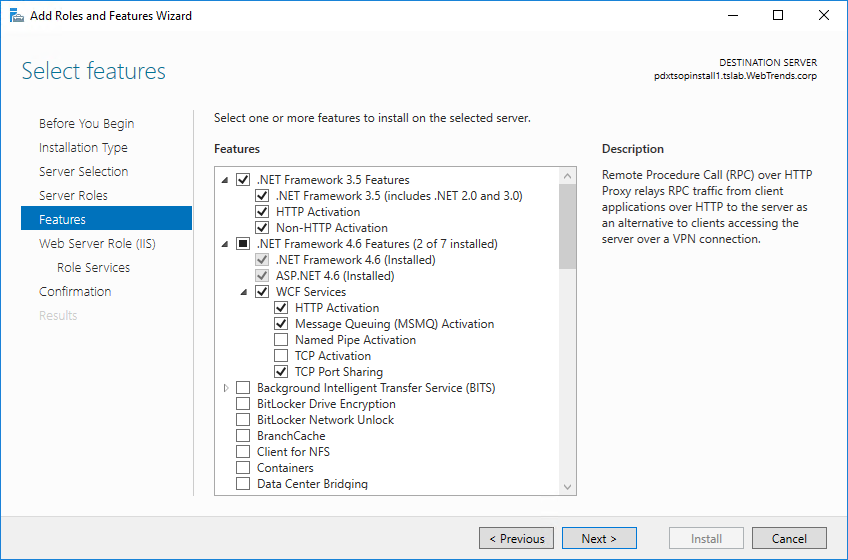
Add all Features as seen below, adding any required features if prompted, and then click Next:
-
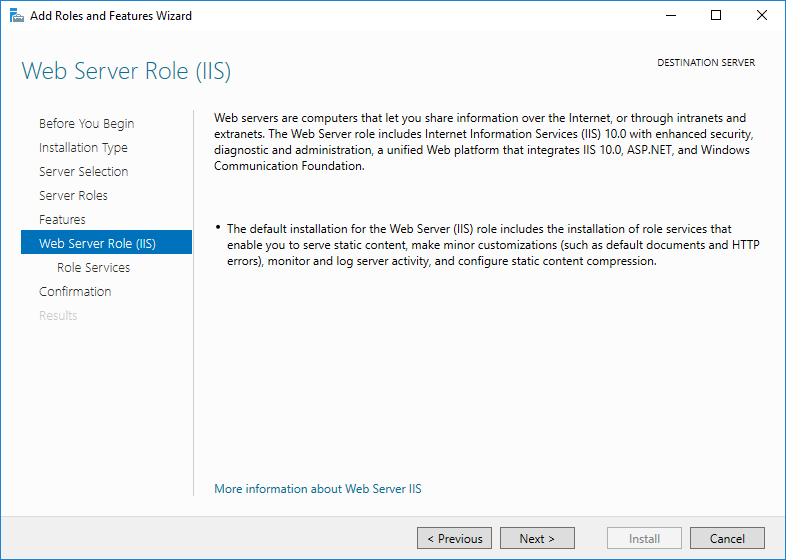
Click Next on the Web Server Role (IIS) screen.
-
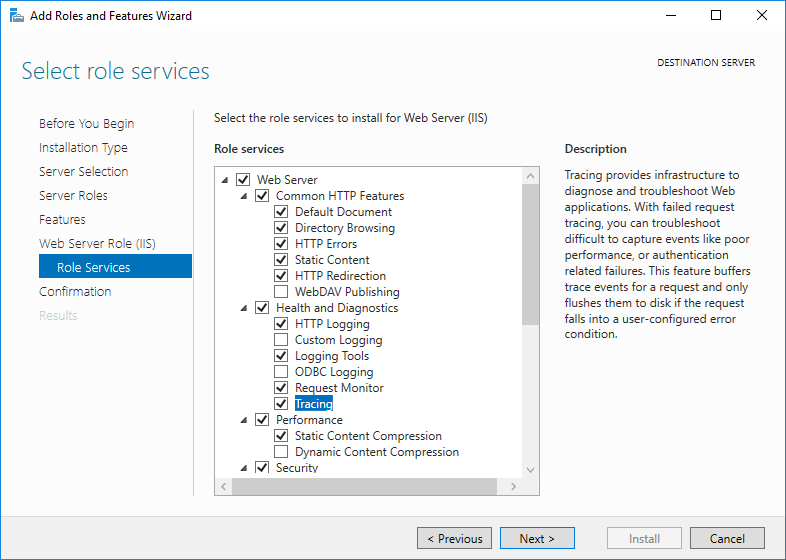
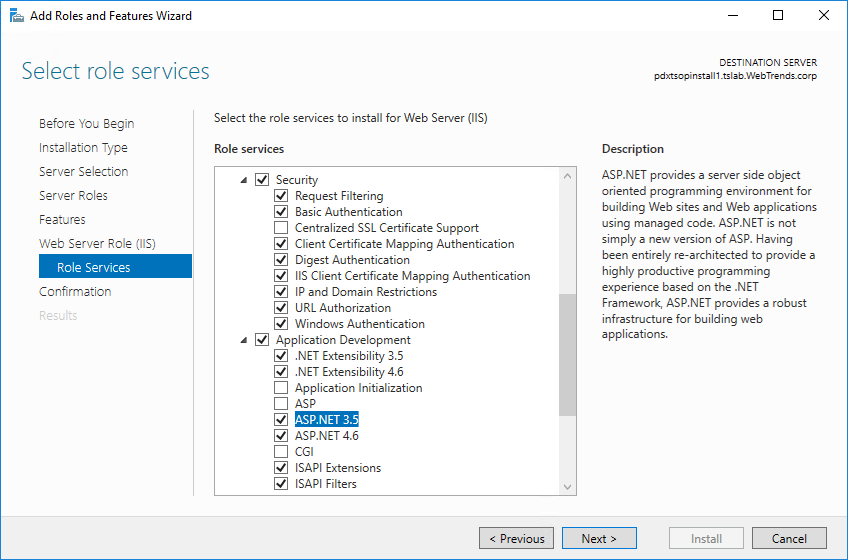
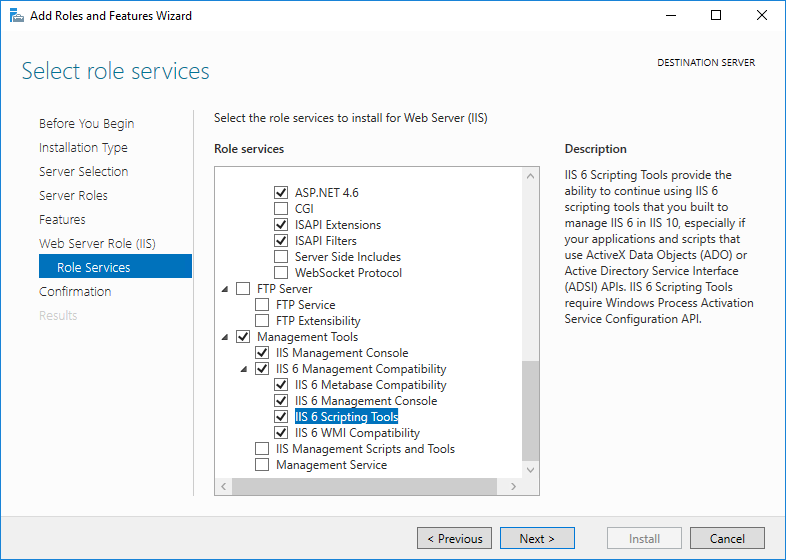
Add Role services as seen below and then click Next:
-
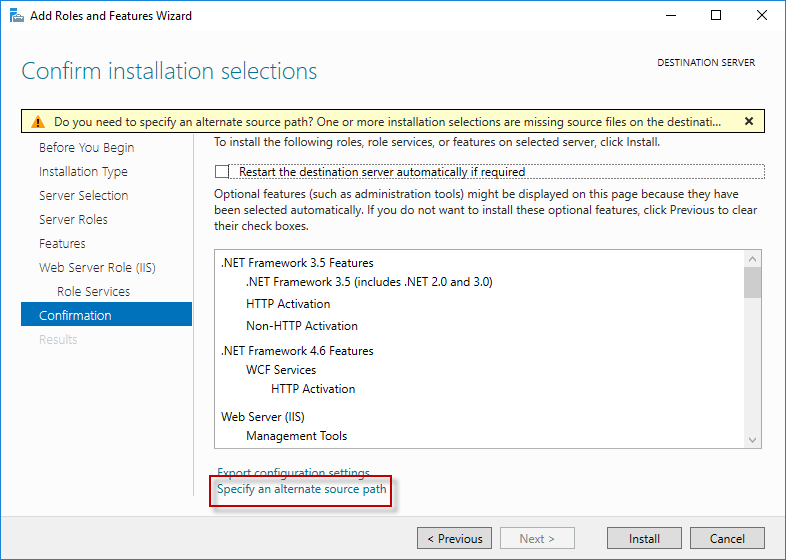
On the Confirm installation selections screen click on Specify an alternative source path.
-
Specify the path to the
\sources\sxs\folder on the installation media and then click OK.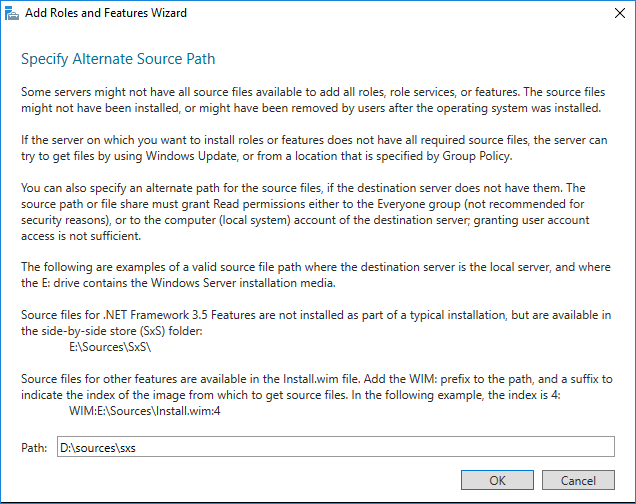
-
Click Install.
-
After a few minutes, the Installation Results screen appears.
-
Click Close.
-
Restart the server and log back in.
Add Service Accounts
Webtrends requires a domain user account to run services. Local user accounts do not allow the installation of Webtrends on any distributed machines, which includes additional options such as analysis machines, Insight, Realtime Engine, etc.
-
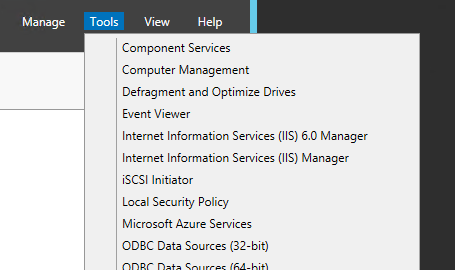
Open the Local Security Policy option from under Tools in Server Manager.
-
Navigate to Local Policies > User Rights Assignment.
-
Add the service account to the following local security policies (regardless of whether the user already belongs to existing groups in these policies).
- Act as part of the operating system
- Allow log on locally
- Debug programs
- Log on as a service
-
Add the service account to the Local Administrators group:
- Open the Computer Management from under Tools in Server Manager.
- Navigate to Local Users and Groups/Groups.
- Add the service account to the Administrators group.
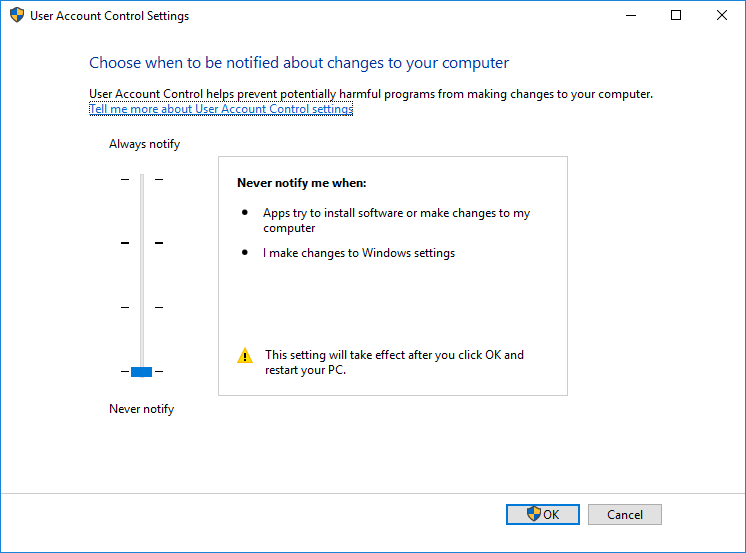
Turn off User Account Control (UAC)
User Account Control must be disabled to install Webtrends Analytics. If you do not disable UAC, the installation fails and returns an error code (1001, 1603) or a message about account restrictions.
-
Open Control Panel.
-
Click User Accounts.
-
Click User Accounts.
-
Click Change User Account Control Settings.
-
Drag the slider bar to Never Notify.
-
Click OK.
-
Restart the computer.
After changing these settings, the computer must be restarted before starting the Webtrends installer. If the installer complains about UAC still being on after completing the steps above, you may have to turn off UAC via the registry.
- Open the Registry Editor
- Navigate to HKEY_LOCAL_MACHINE > Software > Microsoft > Windows > Current Version > Policies > System
- Double click on EnableLUA, verify if value is 0; if not, change it to 0.
- Restart computer.
Registry Key Values:
UAC Disabled: 0
UAC Enabled: 1
- Run Windows Update to get the latest patches for the installed components.
Unhide the Bin in IIS
- Open the Internet Information Services (IIS) Manager under Administrative Tools.
- Expand the current server.
- Expand Sites.
- Double-click Request Filtering.
- Click the tab for Hidden Segments.
- Click on Bin to highlight it and then click Remove on the right.
- Close the Internet Information Services (IIS) Manager.
Run the Analytics Installer
-
Log in as the Service Account user created in Add Service Accounts.
-
Right-click on the Webtrends 9_5.exe and select “Run As Administrator”.
-
Select the drive and location to extract the installer to, this should be your installation drive.
-
In the newly created Webtrends folder, create a location for the storage folder.
- Create a new folder named "storage".
- Share the folder, giving read/write access in the Sharing tab to the user configured in the earlier steps, and full control to the user in the Security tab.
NoteAll report and analysis data is kept in this folder, so it should be backed up regularly. Depending on usage, this folder can grow very large, and should exist on a disk with ample capacity
-
Accept the license agreement and click Next.
-
If the installation does not detect an installed version of the SQL OLE DB driver greater than 13, it will install it, and prompt you to reboot. If this occurs, a runonce entry is placed in the registry to restart the installation the next time an administrator logs in.
-
Click Next on the “Welcome to the InstallShield Wizard for Webtrends”.
-
Accept the license agreement and click Next.
-
Verify the installation folder and click Next.
- Select a drive other than the OS drive.
- If you are adding features to a distributed architecture, provide the host, instance and port of the SQL database. The instance name is typically
wtsystemdb. For a standard install, leave the Port field blank.
-
Select Starting a new installation.
-
Select the components to install. A typical install includes:
- Webtrends Master Database
- Reporting and Administration
- Standard Analysis Engine
- GeoTrends Data File
-
Click Next.
-
Select Install Microsoft SQL Server 2019 Express Edition and click Next.
NoteIt is unnecessary to use a SQL instance other than the one included in the install; SQL Express Edition is more than sufficient to handle the requirements of the system. If you require using a version of SQL other than express, please contact Technical Support for additional information.
-
Enter the username, password and domain of the service account user configured in the earlier steps and click Next.
-
In the Webtrends Data Storage Locations dialog, change each entry to use the shared storage folder name, substituting the local directory and folder with the share name. For example, change:
D:\Program Files (x86)\Webtrends\storage\analysisto
\\mymachine\storage\analysis -
Select the port you want to use for the user interface (if other than the default 7099).
-
If you haven't already been provided the GeoTrends data file, contact Technical Support and they can provide it to you.
-
Click Browse and navigate to the file.
-
Click Next.
-
Click Install.
When the installation finishes the base Webtrends installation is complete, including these components: Webtrends Master Database, Reporting and Administration, Standard Analysis Engine, and the GeoTrends Data File. Additional components can be installed on other Webtrends-designated computers in any order.
- Validate the installation:
- Click the Webtrends On Premises desktop icon. The login dialog opens.
- Type the installing user name and password and click Log in. If licensing information was not provided during the installation, you are prompted to activate your license.