

If your environment requires a "hardened" server configuration for maximum security, you should
implement the security hardening measures after the installation is complete.
The following steps are necessary to use SDC:
- Install necessary IIS Roles and Features.
- Install the SmartSource Data Collector software.
- Create an SDC data source and generate datasource IDs.
- Configure the SDC site map file.
- Insert the WebTrends JavaScript tag on your Web site.
Installing IIS Roles and Features (Windows Server 2008 R2)
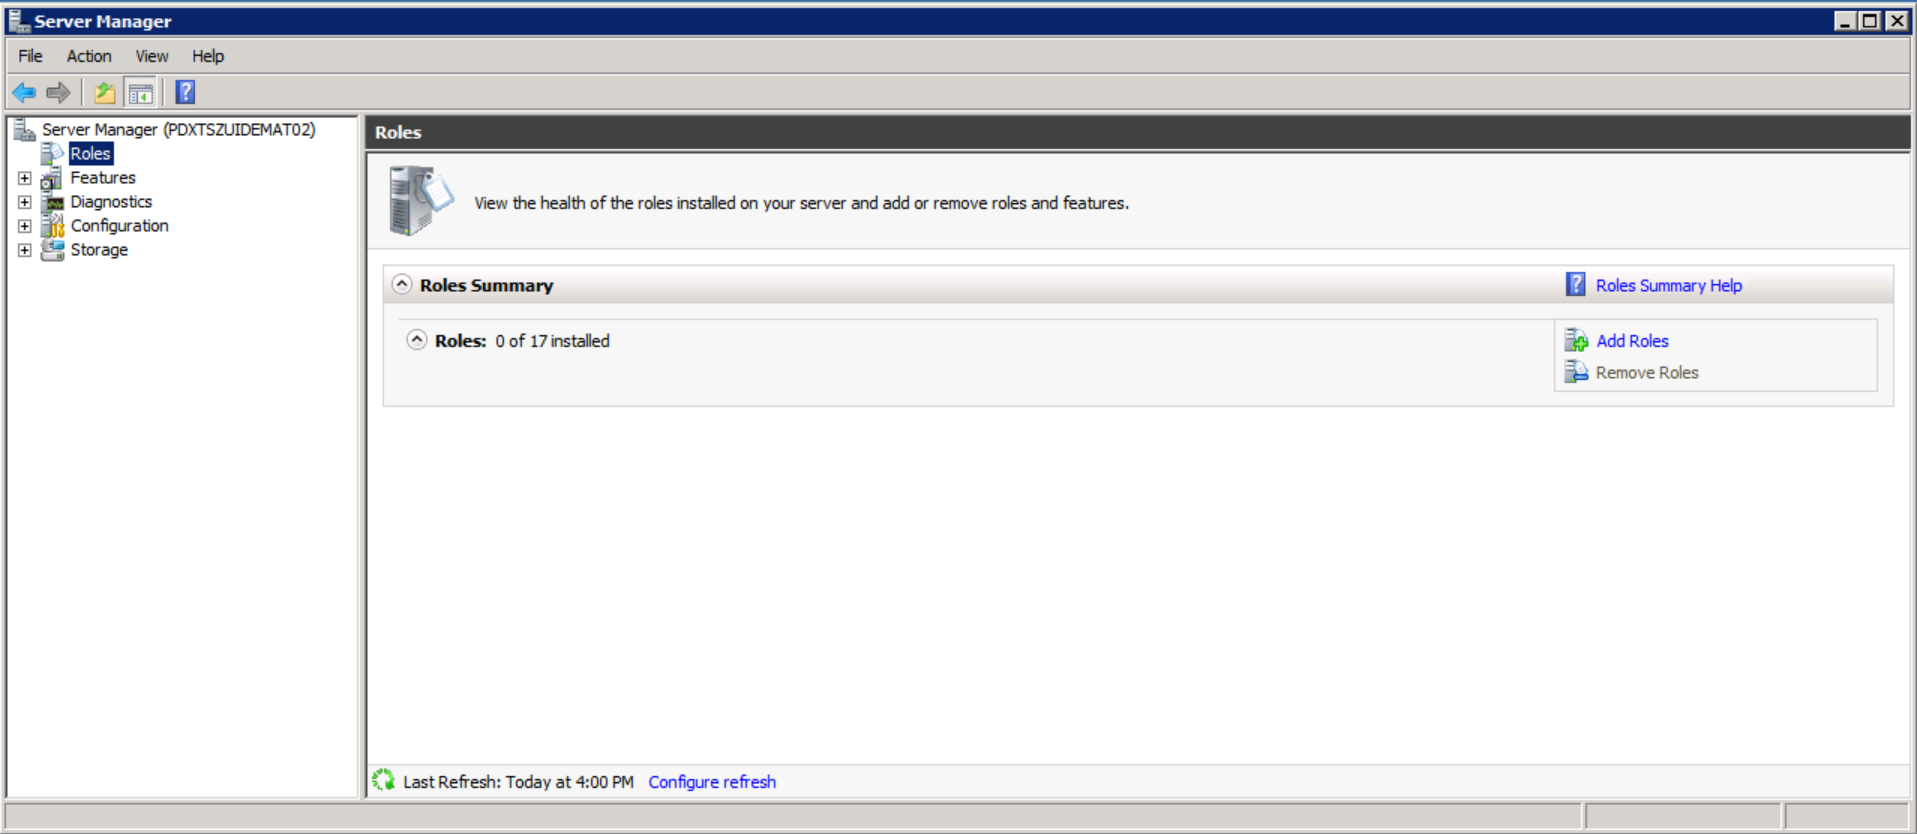
- Open the Server Manager.
- Click on Roles on the left.
- Click Add Roles under Role Summary.
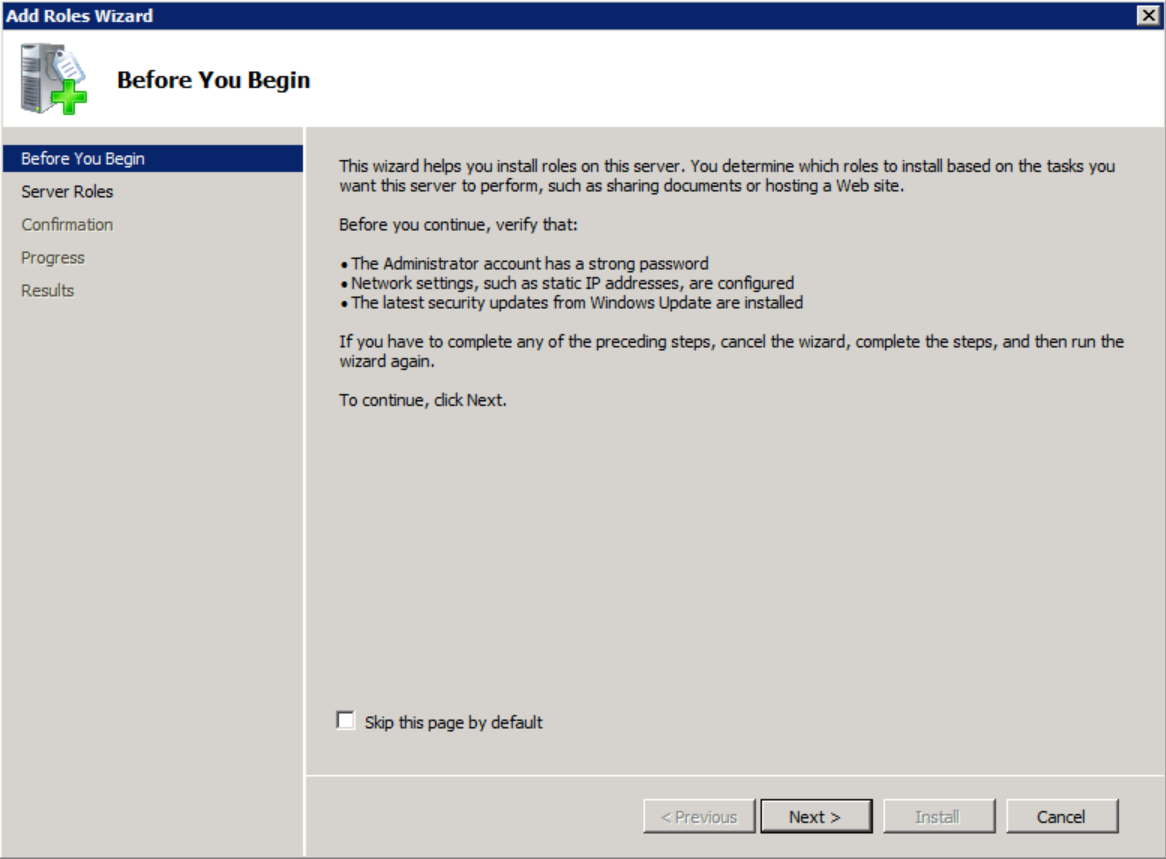
- Click Next.
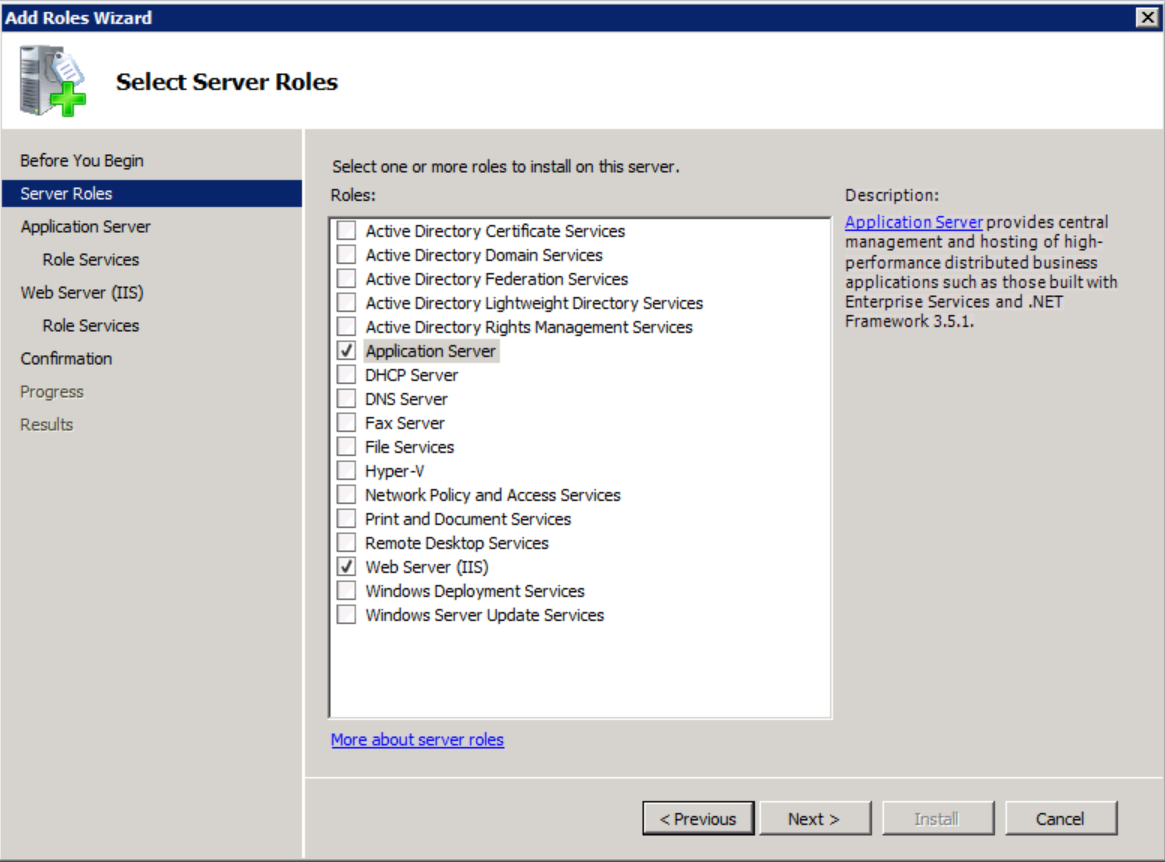
- Check Application Server and Web Server IIS, adding any required features if prompted, and click Next.
- Click Next.
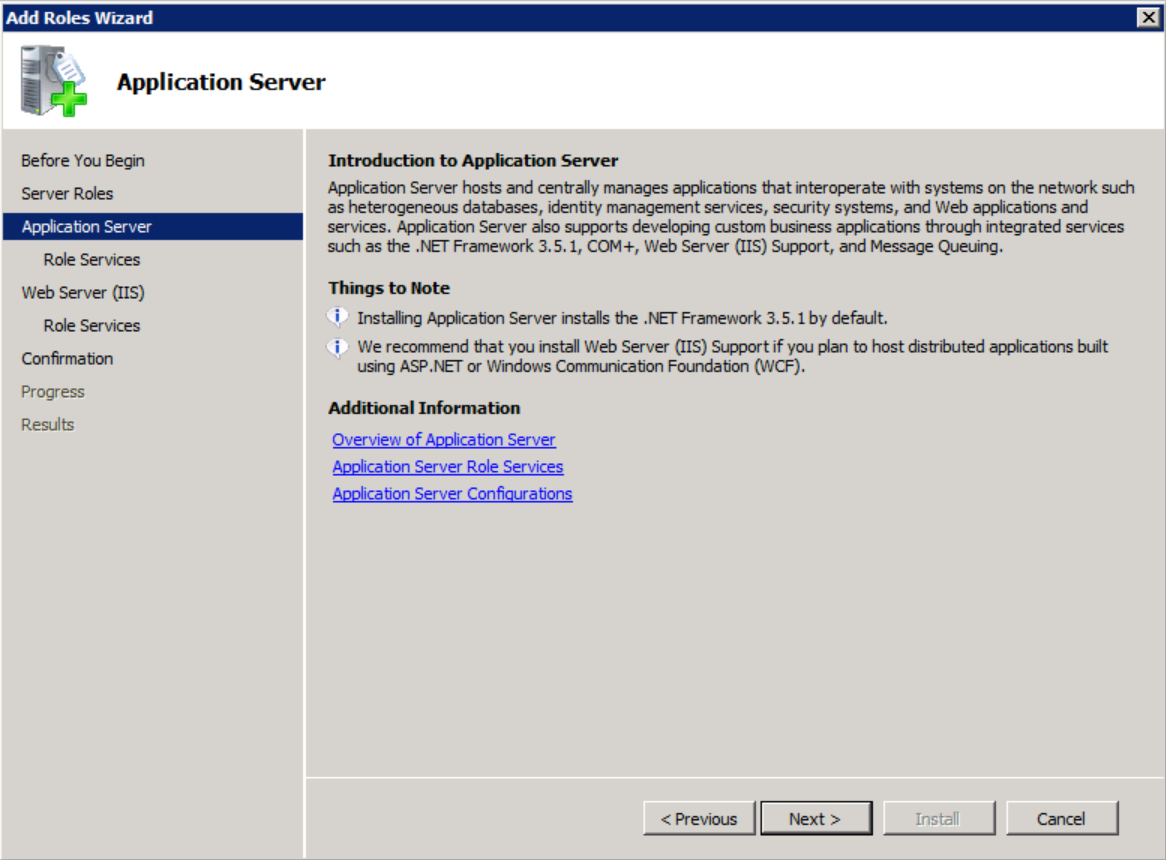
- Check .NET Framework 3.5.1 and Web Server IIS Support, adding any required features if prompted, and click Next.
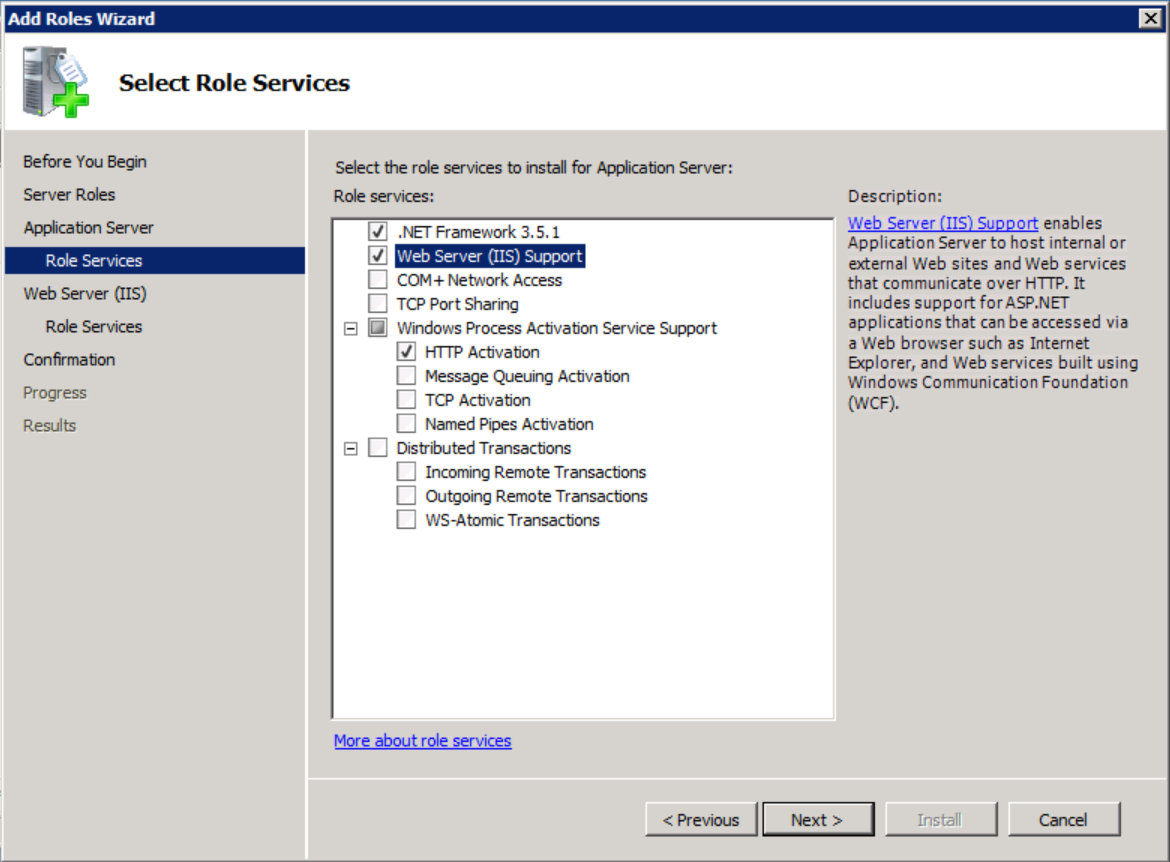
- Click Next.
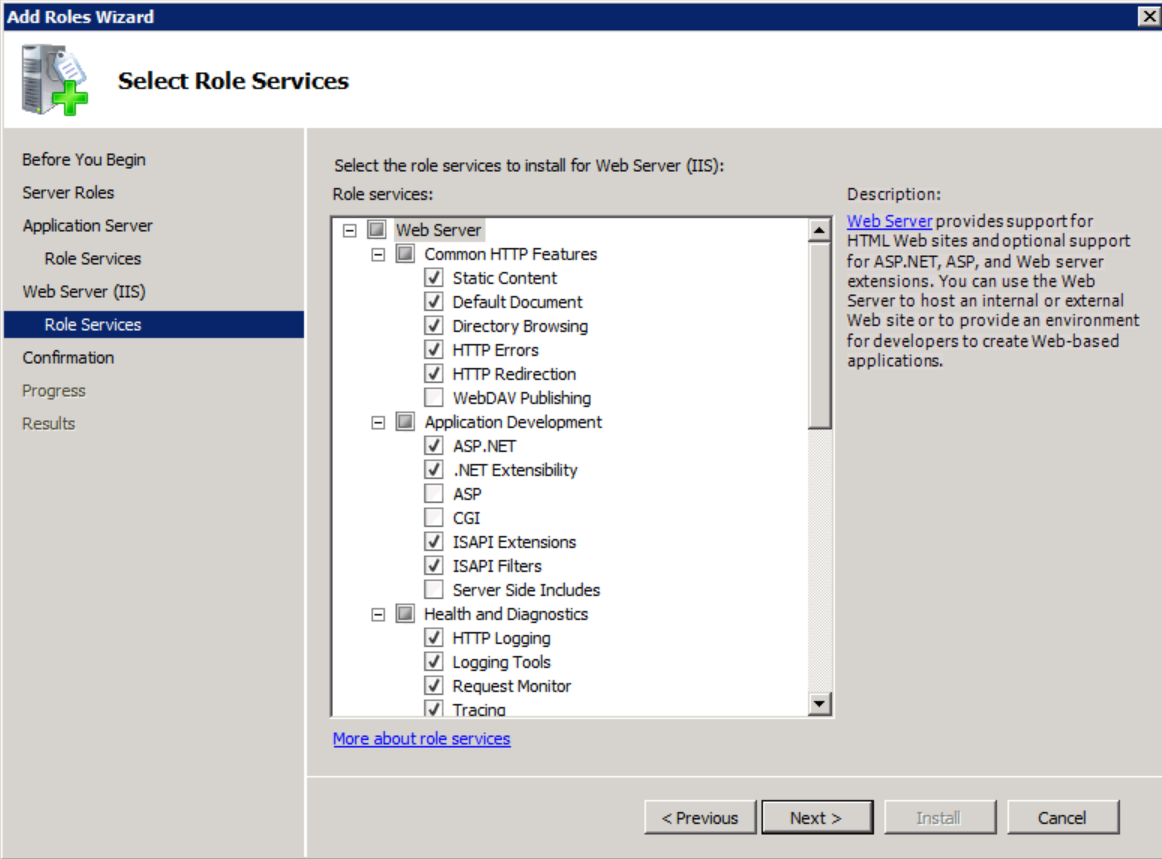
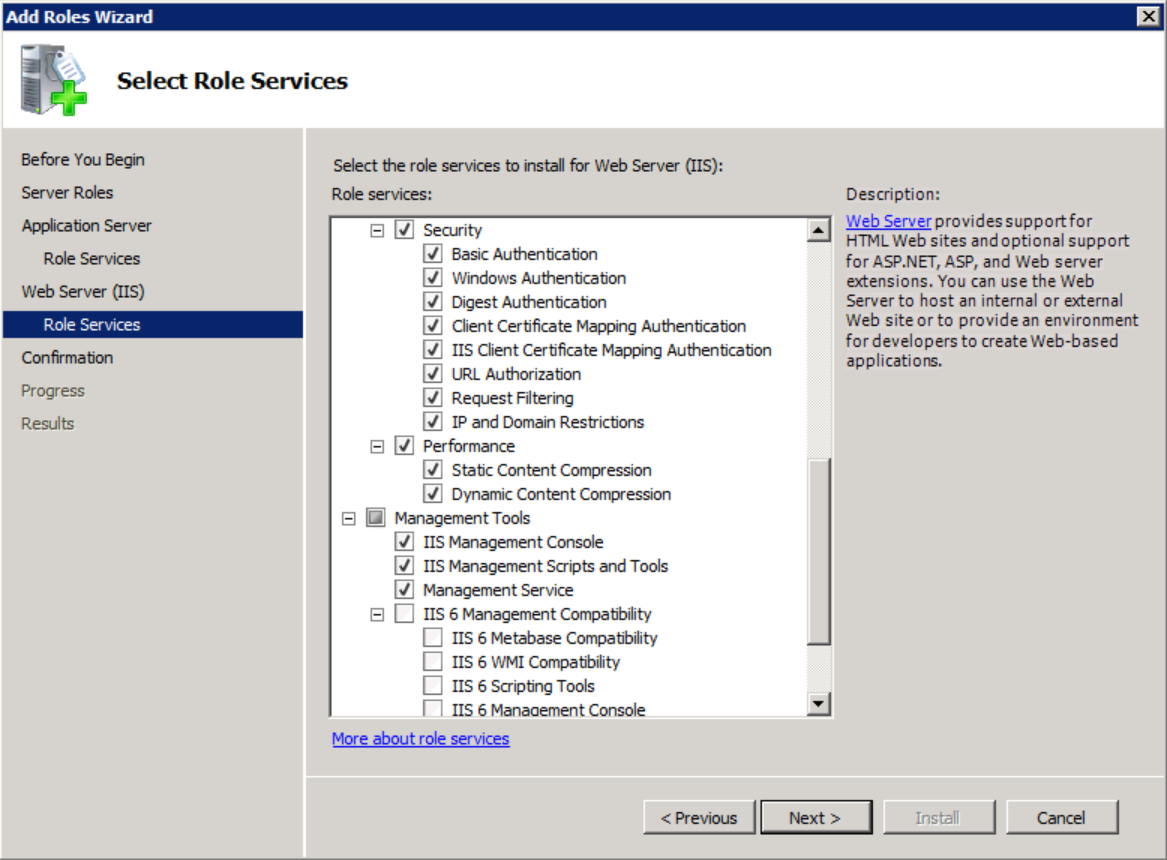
- Add Role services as seen below, adding any required features if prompted, and then click Next:
- Click Install.
- After a few minutes, the Installation Results screen appears.
- Click Close.
Installing IIS Roles and Features (Windows Server 2012, 2016 and 2019)
- Open the Server Manager.
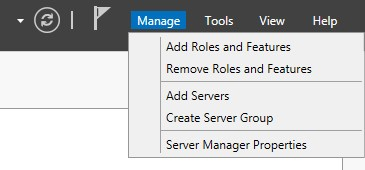
- Click Add Roles and Features under Manager in the top right corner.
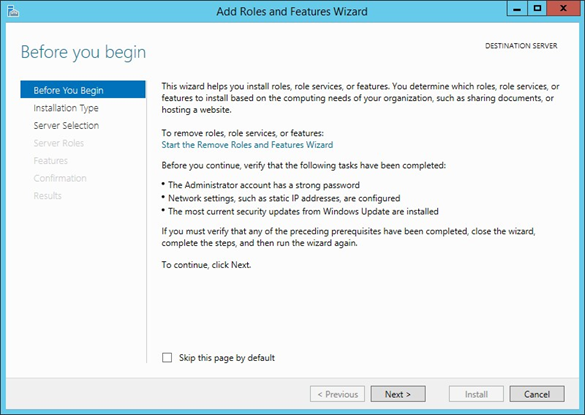
- Click Next in the “Before You Begin” dialog if it appears.
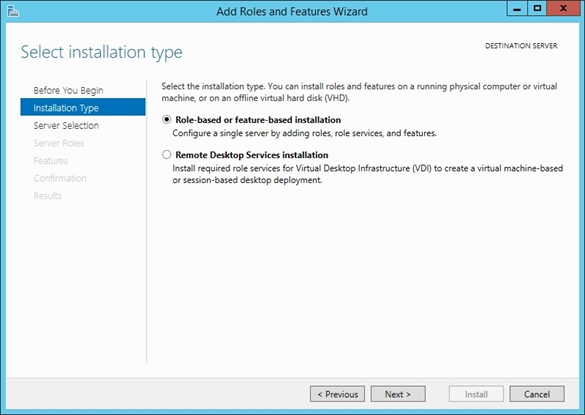
- Click Next while leaving the radio button on Role-based or feature-based installation.
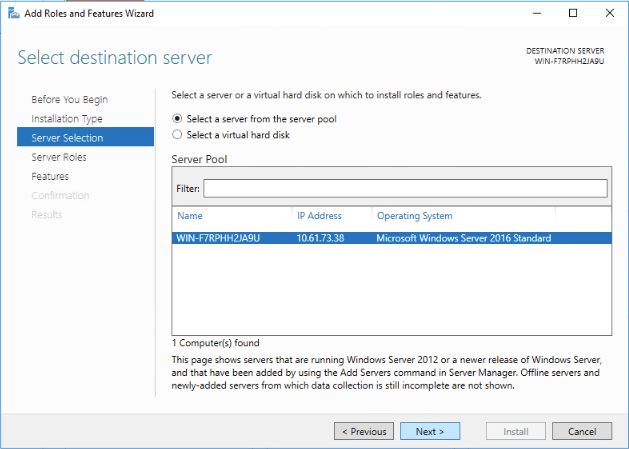
- Click Next on the Select destination server screen. It will have your server already highlighted.
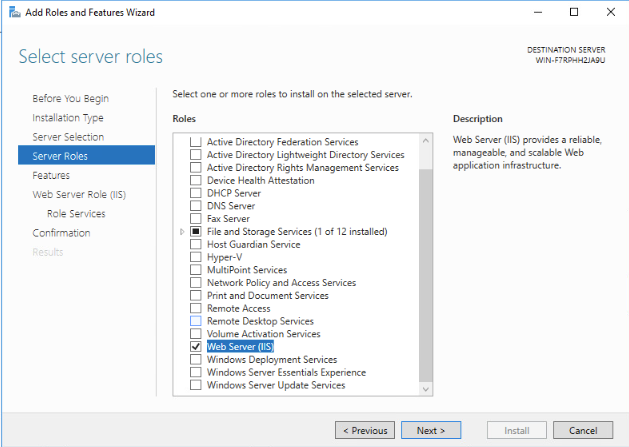
- In the Select server roles dialog, add Web Server (IIS), adding any required features if prompted, and click Next.
- Click Next on the Features screen.

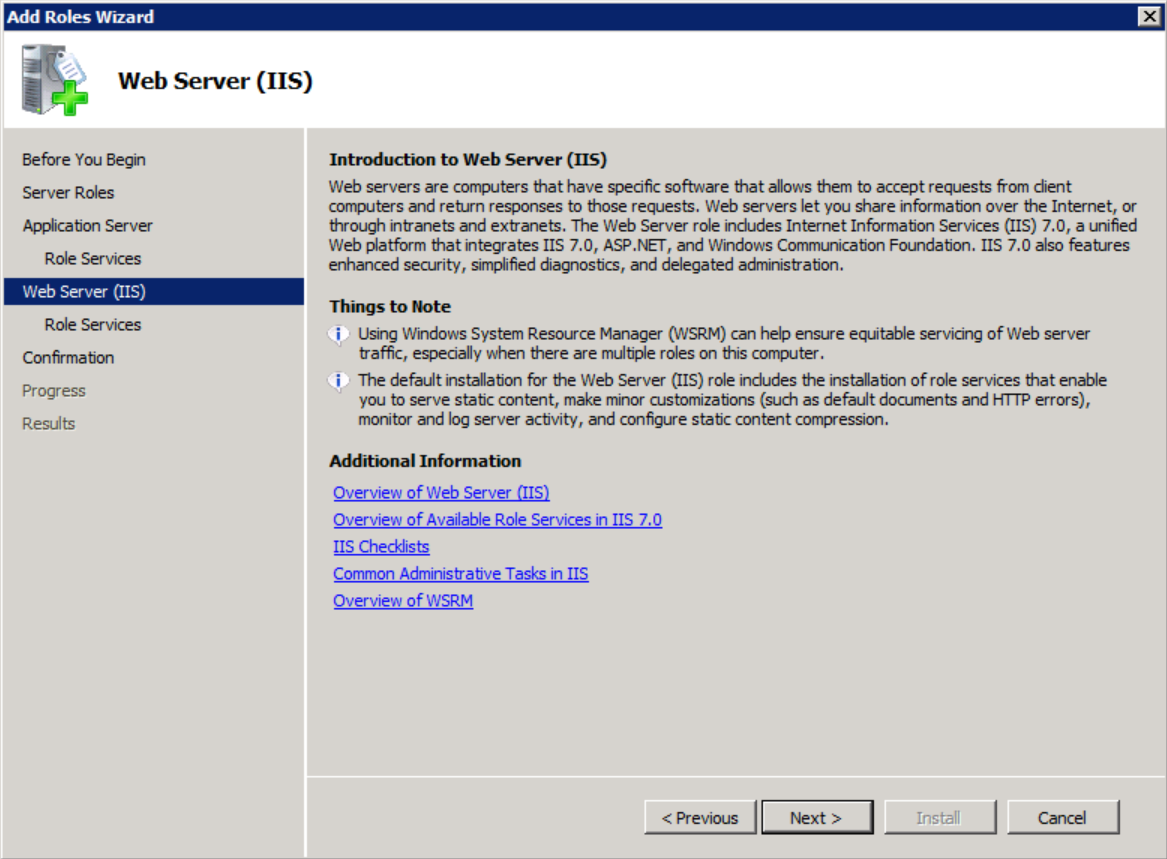
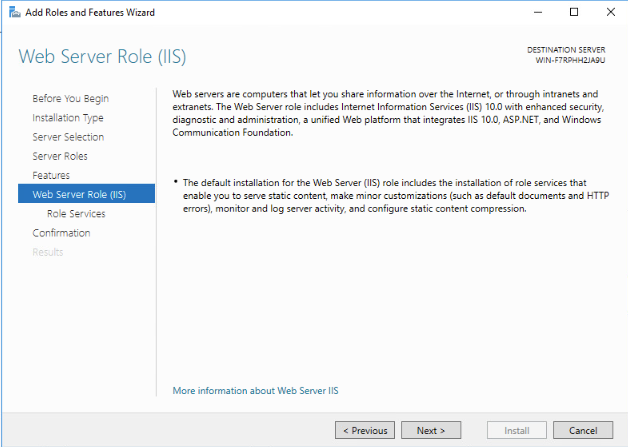
- Click Next on the Web Server Role (IIS) screen.
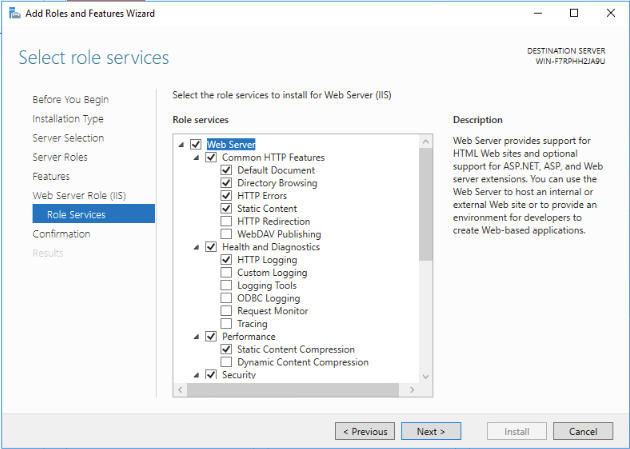
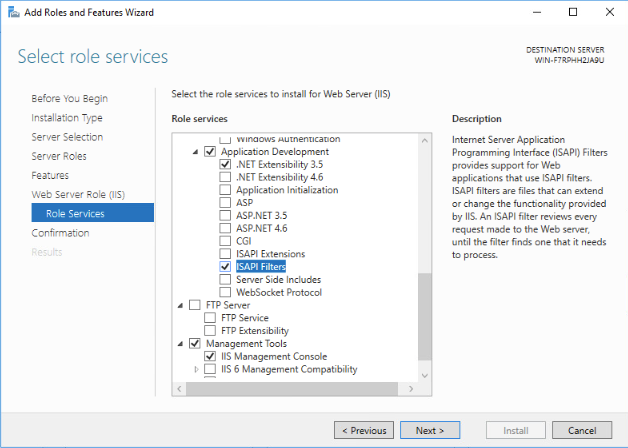
- Add Role services as seen below, adding any required features if prompted, and then click Next:
- On the Confirm installation selections screen click on Specify an alternative source path.
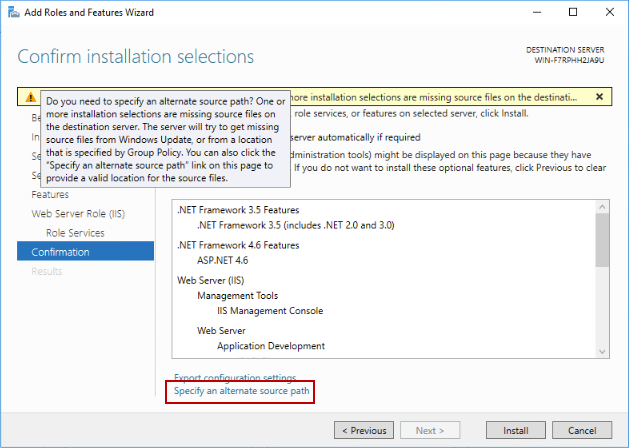
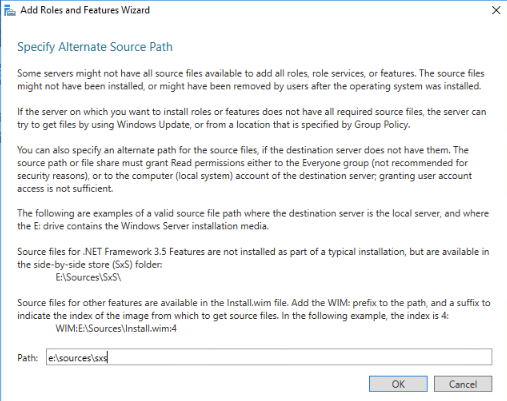
- Specify the path to the \sources\sxs\ folder on the installation media and then click OK.
- Click Install.
- After a few minutes, the Installation Results screen appears.
- Click Close.
Installing the SmartSource Data Collector software
- Double-click to execute the SDC installation application.
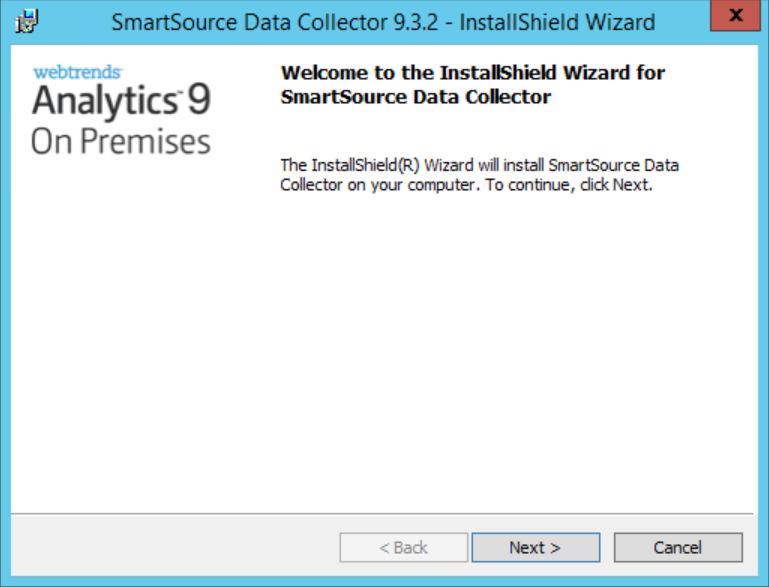
- Click Next on the installer welcome page.
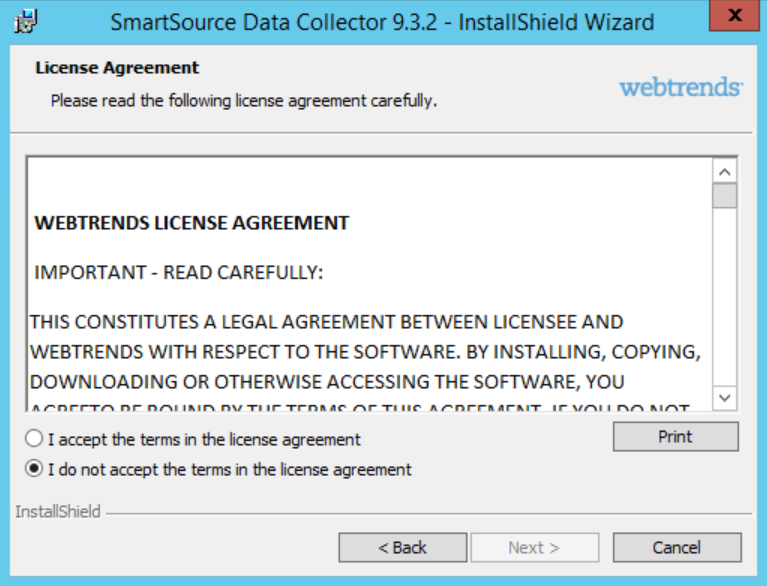
- Read and accept the End User License Agreement then click Next.
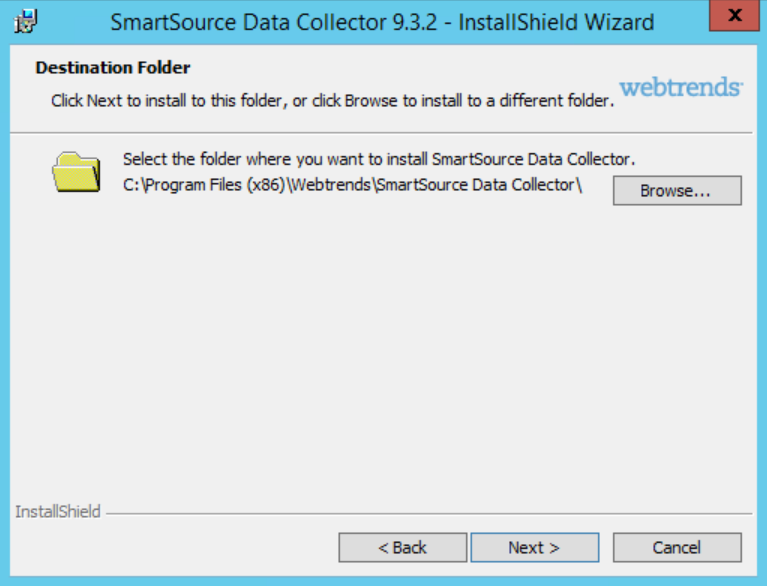
- Set the desired installation directory and click Next.
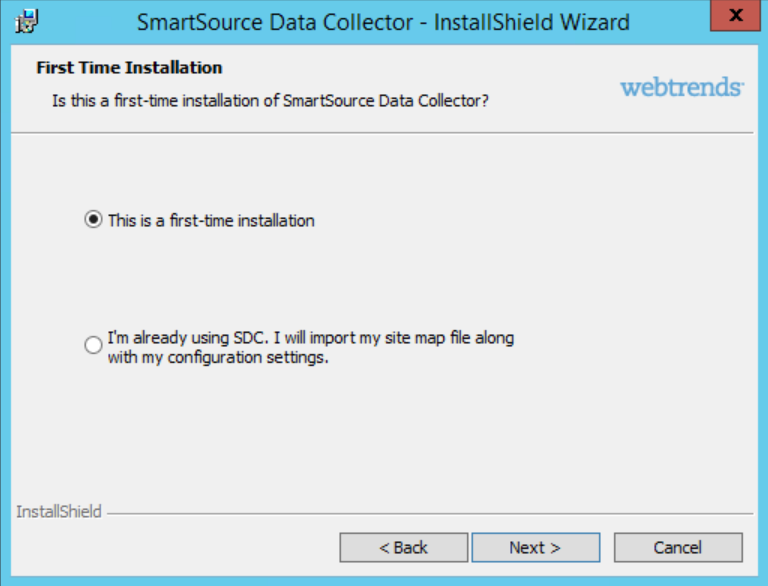
- If you have a DCSID that you would like to enter, choose This is a first-time installation and click Next. If you have many DCSIDs, plan to import your existing site map file from a previous installation, or do not have any DCSIDs yet, choose I’m already using SDC. I will import my site map file along with my configuration settings and click Next.
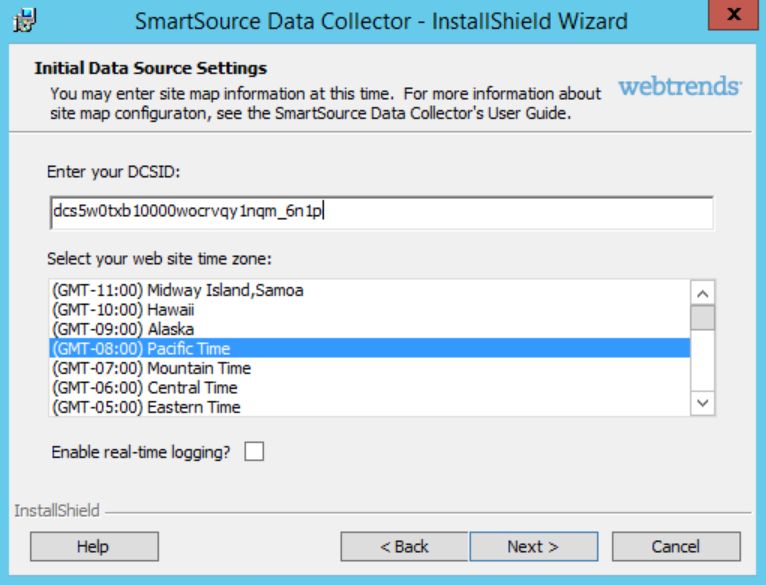
- If you chose the first-time installation option, you will be presented with the following screen. Enter your DCSID, choose the time zone of your web site’s server, and choose whether or not you would like to enable real time logging (used for Express Analysis), then click Next. If you did not choose the first-time installation option, skip to the next step.
- Choose which components to install and click Next.
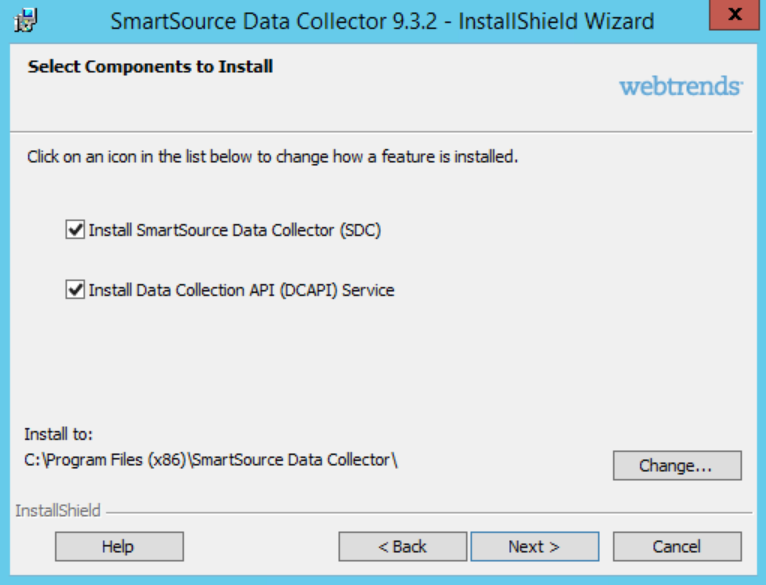
The DCAPI component cannot be added at a later time without uninstalling, then reinstalling the SDC software. We recommend that you install this component at this time.
- Click Install.
- Click Finish.
Defining an SDC Data Source
If you are installing SDC for the first time, you need to create an SDC data source in WebTrends Administration. The data source generates a unique DCSID for your site. If you have multiple domains and you want to report traffic for those sites separately, create a data source for each domain.
If you have already defined an SDC data source, and you know your DCSID, you can skip this step. If you have defined an SDC data source and you need to know your DCSID, you can look at the data source in Edit mode in WebTrends Administration to find the DCSID.
To create an SDC data source:
- In the left pane, click Administration > Application Settings > Data Sources.
- Click New.
- In the Data Source Type dialog, select Web: SmartSource Data Files.
- Give the datasource a name.
- Identify the location of your SmartSource Data Collector log files.
- Provide information about the time zone for the log file.
- In the SmartSource Site ID dialog, click Generate a new SmartSource Site ID and specify the IP address, hostname, or FQDN of the SmartSource Data Collector server.
- Click Next.
- Click Save.
To create tracking code for the DCSID, click on Build Tag (Tracking Code), or visit tagbuilder.webtrends.com.
Recovery or re-installing the SmartSource Data Collector
- Uninstall the SmartSource Data Collector from Control Panel > Add/Remove Programs.
- Delete the SmartSource Data Collector installation directory.
- Install the same version of SmartSource Data Collector using the stand-alone installation file.
- Replace the dcs.cfg and webtrendssites.lst files in the cfg folder with the files that were backed up.
- Restore any log files from the backup to the weblog folder.
- Restart the The SmartSource Data Collector in IIS.
- Test SmartSource Data Collector functionality.
Configuring an SDC Site Map
The SmartSource Data Collector relies on a site map file that contains the DCSID for each of your data sources. The site map file allows you to track visitors across multiple domains using first-party cookies. It also allows you to analyze traffic for all your domains using the account roll-up data source and use Express Analysis or real-time analysis.
To configure the SDC site map:
-
Open the
webtrendssites.lstfile located in theSDC installation directory\cfgdirectory.dcs5w0txb10000wocrvqy1nqm_6n1p, -5, 1, NULL, 1, 1NoteEach line of code represents a single data source. All fields are required.
-
Replace
dcs5w0txb10000wocrvqy1nqm_6n1pwith the DSCID for your SDC data source. You can use an existing DSCID or generate a new one. For more information, see “Defining an SDC Data Source,” below. -
Replace
-5with the time zone of your Web server. Specify a value between -12 and 12 that corresponds to the GMT offset of your Web server. For example, the time zone for Pacific Standard Time is-8. -
Increment the value of the third field for each DCSID you specify. For example, if you have two DCSIDs, you would modify the third field in the following manner:
DCSID1, TIMEZONE, 1, NULL, 1, 1
DCSID2, TIMEZONE, 2, NULL, 1, 1NoteDo not modify the
NULLvalue unless you are setting up SDC for Express Analysis or real-time analysis. If you are configuring the data source for Express Analysis or real-time analysis, changeNULLtoexpressorrt. For more information see “Express Analysis” in the WebTrends Administration User’s Guide. -
If you want to prevent SDC from setting cookies for a specific data source, change the fifth field value to
0. You can use this setting to override the global setting that disables cookies in the SDC configuration file,dcs.cfg. By default, cookies are enabled, which is specified by a value of1. You should only disable cookies if your organization’s policy does not allow visitors to be identified using cookies. -
If you want to configure session-only cookies for a specific data source, change the sixth field value to
2. You can use this setting to override the global setting that configures cookie persistence in the SDC configuration file,dcs.cfg. By default, cookies generated by SDC are persistent specified by a value of1.
Before SDC can collect traffic about your Web site, you must insert the JavaScript tag on your web pages.