

Testing in Chrome
-
Open a page that is thought to be tagged with the Webtrends SharePoint Tag, such as the Home page of a site collection.
-
Open the Developer Tools. This can be done by:
a. Pressing F12 on the keyboard.
b. Ctrl + Shift + I on the keyboard.
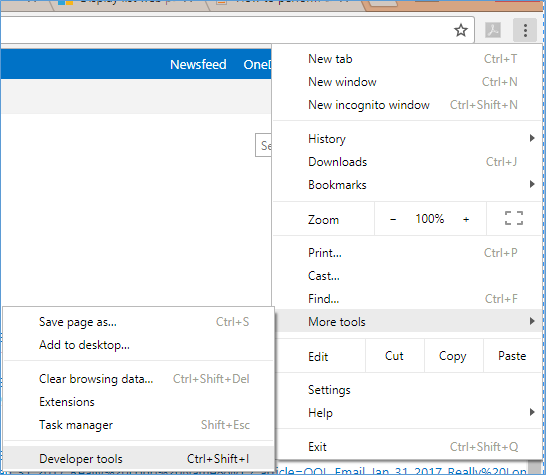
c. Clicking the vertical … icon in the upper right of the browser and clicking the More tools > Developer Tools
 Note:
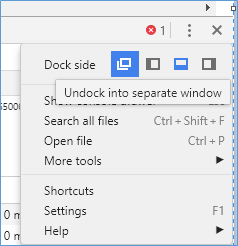
Note:You can pop the Developer Tools window into its own window by clicking the vertical … icon and then the Undock into separate window icon in the upper right of the menu.
-
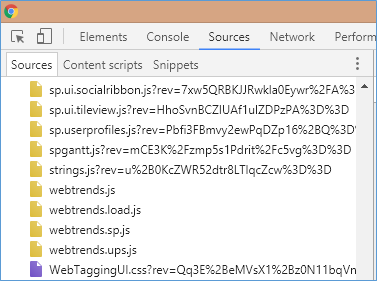
Click on the Sources tab near the middle of the list of tabs the top.

-
Review the list of Sources in the tab on the left.
-
Verify you see the Webtrends JavaScript files as noted in the Webtrends JavaScript Files section.
-
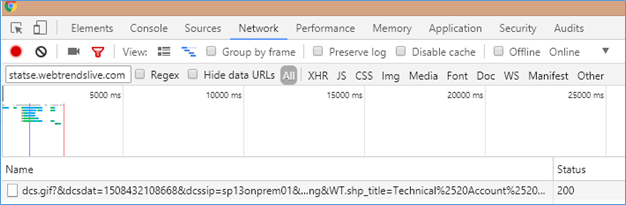
Click on the Network tab near the middle of the list of tabs the top.

-
Refresh the page or press F5 on the keyboard.
-
Use the Filter box in the upper left and search for statse.webtrendslive.com.
 Note:
Note:If you see a row with sdc.yourdomain.com and wtid.js in the URL, but do not see a row with dcs.gif, you may have the DCSID value set incorrectly. This causes the SDC server to reject the request, and the tag will not continue.
-
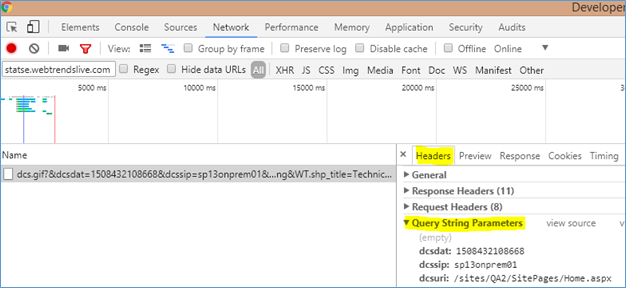
Click on the dcs.gif row that appears in the list.
-
Click on the Headers tab in the right panel that appears.
-
Collapse the General, Response Headers, and Request Headers sections, or scroll down to the Query String Parameters section.
-
Review the data in the hit by looking at each parameter and value and determining if the expected values are appearing.
-
To verify link tracking, click the Clear (circle with a line) icon to remove all previously found entries.

-
Return to the browser window.
-
Find a link you wish to test.
a. If Collect all links clicks? (app method), or the allClick option in the webtrends.load.js file (manual or WSP method) are true, clicks to any <a> link on the page should trigger a hit.b. If these options are not enabled, only some links will be expected to pass data. Navigate to a document library and use adocument link orHover Card orRibbon link to test.
-
Left click on the desired link, but do not let go of the mouse button. Drag the mouse slightly. Then let go of the mouse button.
a. This will cause the link click hit to be sent, but the browser will not move to the next page. This allows you to review the data while still staying on the same page. Multiple links can be quickly tested using this technique.
Note:There is also a Preserve log checkbox in the top of the Network tab that will keep or discard all the traffic when moving to another page.
Turn it on, so that if you fully click on a link and move to the next page the link click hit will not be lost in the process and should appear as the next line in the list.

-
Review the data in the link click hit by repeating the last few steps.