

The sample applications that ship with the Android Analytics SDK are designed to give you, the developer, real-world examples of how to use the libraries.
The app shows off how to use the Analytics parts of the SDK with your app.
Setting Up the Sample App
The sample applications can be found Here. Within this zip you will find the WTSampleApp folder.
- Download the application to your local machine.
- Ensure you have the latest Android Studio installed on your system. For more information on installing and using Android Studio, see "Instrumenting an Android Application" for details.
- Install JDK 1.7 or above in your local machine and make it available for Android Studio by setting under File -> Project Structure -> SDK location -> JDK location
- Import Sample App Project into the Android Studio under Import project ->your-folder-path/mobile-sdk-sample-apps/WTSampleApp
- Install the Android Webtrends SDK from the Android Studio under File -> Project Structure -> SDK location-> New Module -> Import .JAR/.AAR Package
- Resolve module dependency Add module dependency to the sample app under File -> Project Structure -> Modules -> com.webtrends.android and click the Dependencies tab on the right to add webtrends-android-sdk-release-lib-3.0 module in the list.
- Compile and run the app on a simulator or a physical device.
A Walkthrough of the App
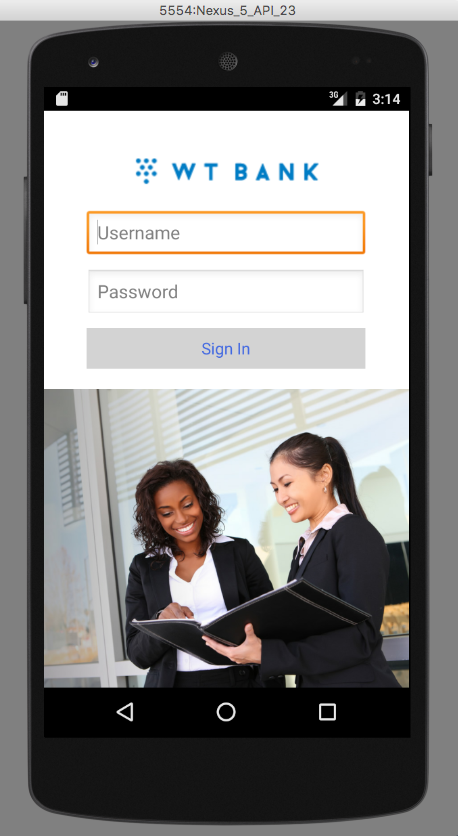
Open the application and tap the Sign In button. It is not necessary to use a login ID or password. These fields are just dummies.
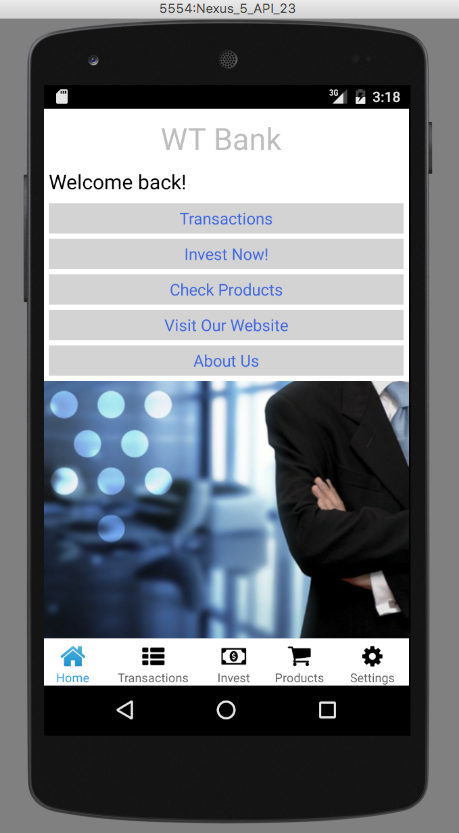
This is the main menu Home page. From here, you can navigate to anywhere in the app using the buttons on the main view or the tab bar buttons along the bottom. Tap the Transactions button.
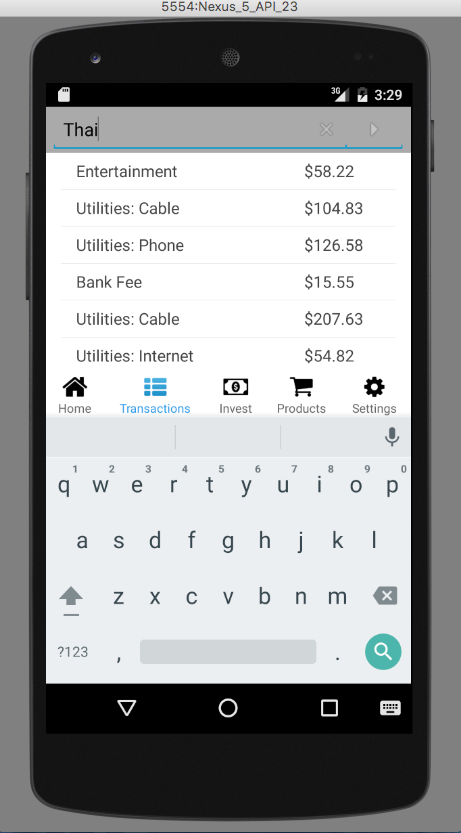
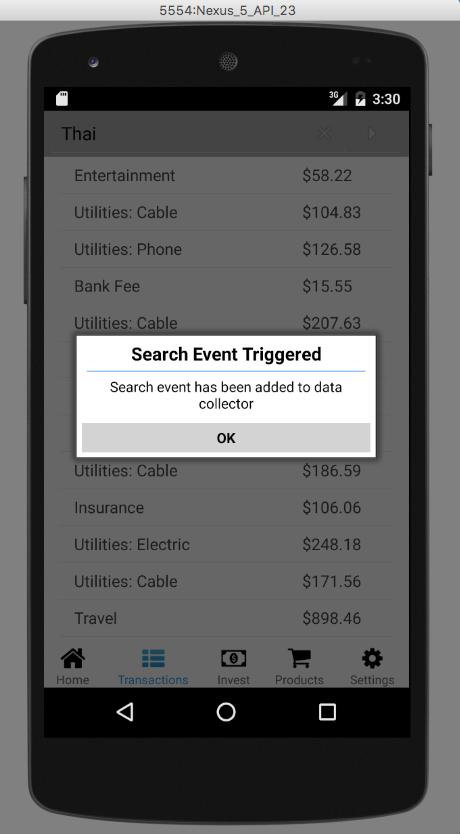
Here you can type something in the search bar and tap enter. This will trigger a dummy search method. The method does not actually search for anything, but it does trigger a popup to indicate that a search event has occurred. The search method makes a call to the SDK to trigger a new Analytics search event.
Peeking at the code in the TransactionsFragment class shows exactly what is going on here:
@Override
public boolean onQueryTextSubmit(String queryText) {
if (searchView != null) {
   // customData parameter.
   // Specifies a series of custom name-value parameters used to pass data that is not included in the method.
   Map<String, String> customData = new HashMap<String, String>();
   customData.put("key1", "value1");
   customData.put("key2", "value2");
   customData.put("key3", "value3");
   // Send conversion event to data collector
   // See details at: http://help.webtrends.com/en/android/#mobile_event_collection_methods.html
   wtDataCollector.onSearchEvent(eventPath, eventDesc, eventType, customData, searchPhrase, searchResurt);
   final InputMethodManager imm=(InputMethodManager) getActivity().getSystemService(Context.INPUT_METHOD_SERVICE);
   if (imm != null) {
       imm.hideSoftInputFromWindow(searchView.getWindowToken(), 0);
   }
   final AlertDialog.Builder builder  = new AlertDialog.Builder(getActivity());
   builder.setTitle("Search Event Triggered" ) ;
   builder.setMessage("Search event has been added to data collector" ) ;
   builder.setPositiveButton("OK" ,  null );
   builder.show();
}
This event will show up in Analytics reporting as a SearchPhrase event containing the parameters above.
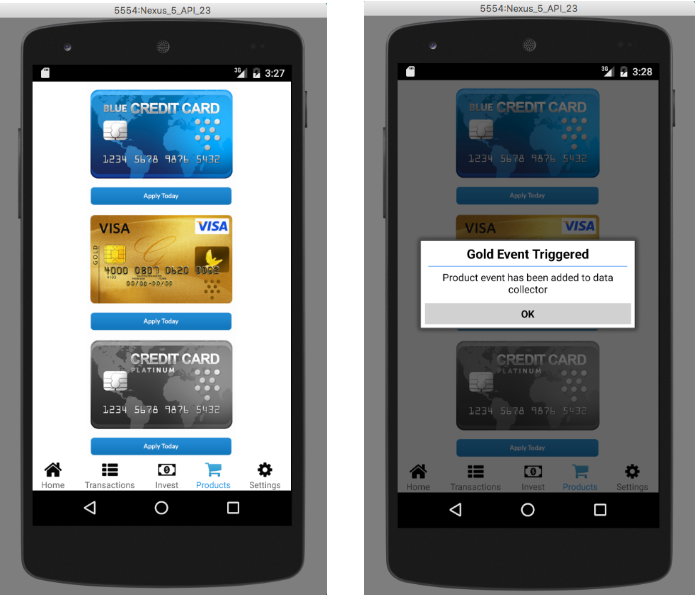
Next, open the Products tab, either by navigating back to Home or by tapping on the Products tab on the tab bar. This view shows three images and three buttons. By tapping on any one of the buttons, you will trigger another event, this time for a ProductId event. The relevant code (from the ProductsFragment class) is shown below:
@Override
public void onClick(View v) {
    final WTDataCollector _dc = ((WTBankApplication)getActivity().getApplication())._manager.getCollector();
    String cardString = "";
    String cardSku = "";
    HashMap<String, String> customParam = new HashMap();
    customParam.put("myCustomParam","myCustomValue");
    _dc.onAdClickEvent(null,"Sign-in button tapped!","Tap Event",null,"loginBtn");
    switch (v.getId()){
        case R.id.blue_credit_card:
            dialogShow("Blue Event Triggered","Product event has been added to data collector");
            cardString = "Blue";
            cardSku = "111";
            _dc.onProductView("/bank/products","user tapped product","tap",customParam,"Logged in",cardString,cardSku);
            break;
        case R.id.gold_credit_card:
            dialogShow("Gold Event Triggered","Product event has been added to data collector");
            cardString = "Gold";
            cardSku = "222";
            _dc.onProductView("/bank/products","user tapped product","tap",customParam,"Logged in",cardString,cardSku);
            break;
        case R.id.platinum_credit_card:
            dialogShow("Platinum Event Triggered","Product event has been added to data collector");
            cardString = "Platinum";
            cardSku = "333";
            _dc.onProductView("/bank/products","user tapped product","tap",customParam,"Logged in",cardString,cardSku);
            break;
    }
}
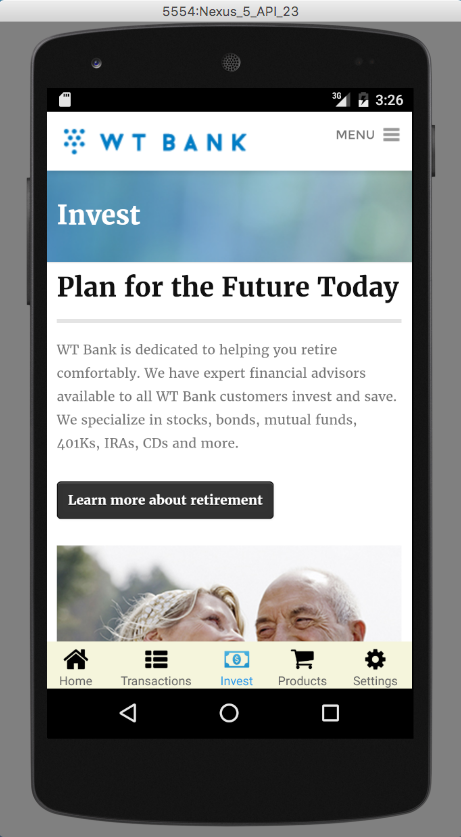
The Invest tab item takes you to a page containing a WebView that pulls content from a web site. This is a demonstration of the hybrid (mixing native Android and web browser) functionality of the SDK. Session information that is started in the native app can be continued onto an Analytics-equipped web page and vice versa. This makes reporting on an end user very easy, since the session remains consistent from app to web.
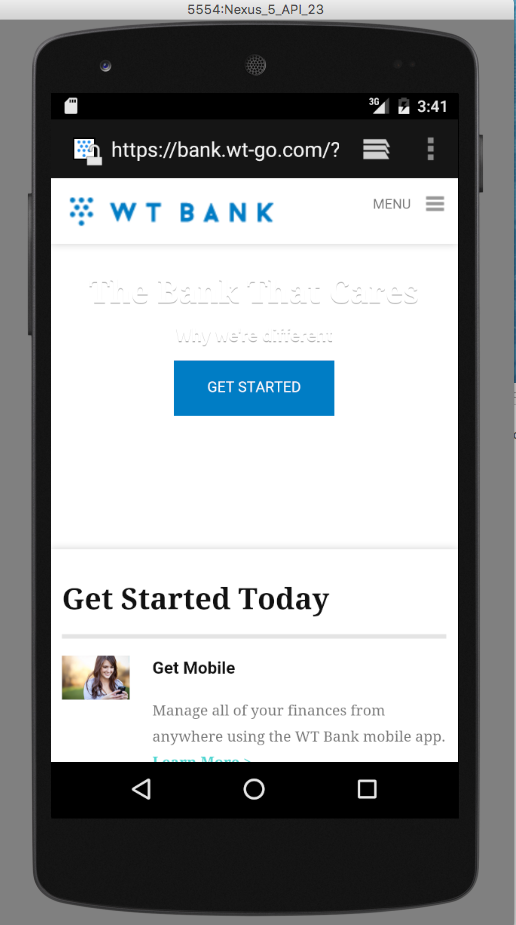
The Transactions -> Visit Our Web Site link also demonstrates hybrid functionality, but shows how a session can continue into your Android web browser session and vice versa.
Next, the Settings tab takes you to a page that controls a few aspects of the SDK itself. The buttons set configuration settings in the SDK that affect its behavior.
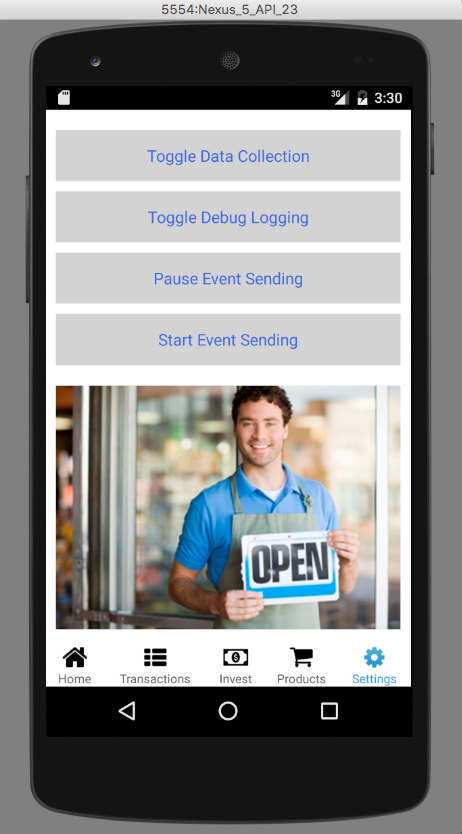
Each of these buttons toggles a boolean setting on or off. The specific call to the SDK looks like this:
@Override
public void onClick(View v) {
    switch (v.getId()){
        case R.id.toggleDataCollectionButton:
            toggleSetting(WTConfigKeys.ENABLED);
            dialogShow("Toggled!", "Data Collection");
            break;
        case R.id.toggleDebugLoggingButton:
            toggleSetting(WTConfigKeys.DEBUG);
            dialogShow("Toggled!", "Debug Logging");
            break;
        case R.id.pauseEventSendingButton:
            _dc.pauseEventTransmission();
            dialogShow("Paused!", "Event Sending");
            break;
        case R.id.startEventSendingButton:
            _dc.resumeEventTransmission();
            dialogShow("Started!", "Event Sending");
            break;
    }
}
The settingName string is passed into WTDatafCollector.getgetConfigValue(settingName) method and returns current state of the configuration.
private void toggleSetting(String settingName)
{
    boolean enabled = Boolean.valueOf(_dc.getConfigValue(settingName));
    String toggle = "true";
    if (enabled) {
        toggle = "false";
    }
    Log.d("SettingsFragment",settingName+" set to "+toggle);
    _dc.setConfigSetting(settingName,toggle,true);
}
Next Steps
Now that you've seen some of the things that are possible with the Webtrends Android SDK for Analytics, feel free to poke around the source code to see how it all works. We encourage you to experiment with the code and try new things. The SDK is very powerful, but also very simple to use. Go have some fun with it.